The first Drupal 7 project I worked on had to have an image carousel with one of those dot pagers on its homepage. I may have been a Drupal newbie then, but I knew for a fact that Drupal did not come with that function built in.
Now, if you’ve just started out with Drupal, you may not have heard this phrase before, but it really should be on a t-shirt:
There’s a module for that.
Trust me when I say I would definitely wear that. But my point is, the best part about Drupal is its huge library of contributed modules that extend Drupal’s capabilities. So here’s a tip for newbie Drupalists, before you attempt to write a single line of custom code for that particular function you need, google it. And append the word Drupal to the search, odds are someone already wrote a module for that.
Back to my image carousel. There is a long list of modules that you can use to create an image carousel. Really long. But I chose to use the Views slideshow module. It’s an extension for the Views module.
If you build Drupal sites and you haven’t heard of Views, well, you’re really missing out. Check out Drupal 101: Introduction to Views for a basic overview of what Views is all about.
The Views slideshow module has been downloaded 1,246,043 times as of time of writing, and is reportedly used on 268,224 sites. That’s about 27% of all Drupal websites (I checked the usage statistics, I did NOT pluck this number out of the sky). So I figured if I did run into any trouble, there’s a high chance someone else did too and probably already had a solution for it.
There is extensive coverage on the basics of installation and setting up here. However, the Views slideshow does require some further tweaking after installation.
Depending on your requirements, you can choose to create a Slide content type just for the carousel, or you can choose to use an existing content type. For this example, I created a simple Slide content type, consisting of just 2 fields, a title and an image.
Slideshow view display setup
- Start off by creating a View for the Slide content type.
 Choose block for the view display and set the display format to Slideshow of fields. Unless you need a title for the slideshow, set the block title to <none>.
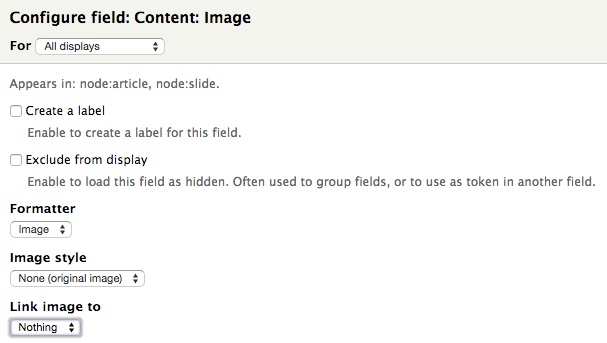
 - By default, only the title field will be displayed at first. Since we want this to be an image carousel, let’s add the image field to the display. Adjust the settings as you see fit.
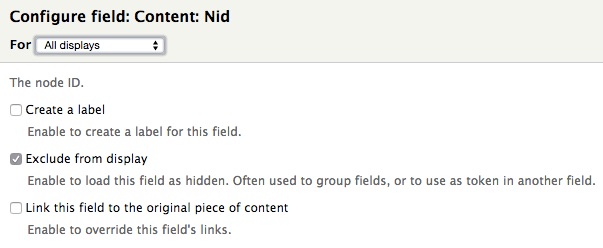
- Add the Nid field to the display as well. We’ll be styling this field to become the dot pager. Check Exclude from display so no random numbers will show up on our slideshow. While you’re at it, do the same for the title field as well.
- Now we have enough fields to tweak the Slideshow settings. Under FORMAT, you should see Format: Slideshow | Settings. Click on Settings.
- There are a lot of options available here. We’ll just take the default settings for Row classes, Style and Slides. Unless you installed extra plugins, the only Slideshow Type you’ll have is Cycle anyway.
- Under Cycle options, you can specify the transition effect as well as any interactions for the slideshow. The defaults work fine here too.
- Scroll further down till you get to the Bottom Widgets.
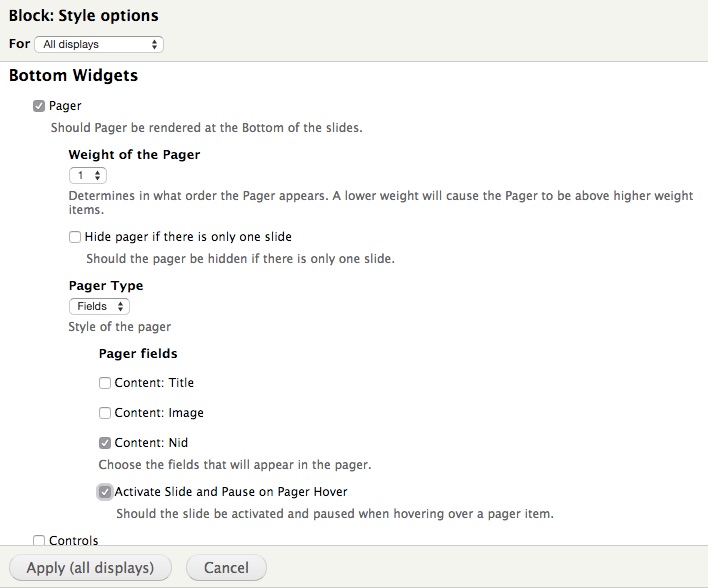 Check the Pager option, then select Fields as the Pager Type. Check Content: Nid as the field to use (that’s why we added this field in the first place). Check the Activate Slide and Pause on Pager Hover as well.
 - You should see something like this. And to test the pager function, hover over the numbers. The slides should change accordingly.

Now we’re done with the Views portion. On to the CSS!
Styling the dot pager
Before we begin, you must brace yourself for markup with levels of nesting so deep it would put Inception to shame. Yes, we can do something about it, but that’s for another article. So for now, defaults it is. Channel your inner Christopher Nolan, my friends.
- Go to wherever you chose to render your newly created Slideshow views block and right-click the Nid pager to inspect element.
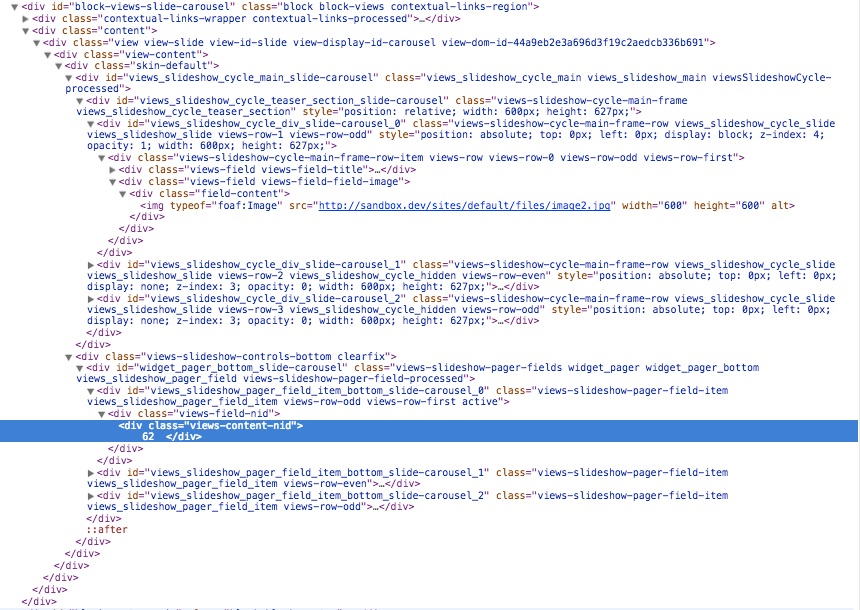
- Depending on what you named your view, the div id for your block will render accordingly. Mine is
<div id="block-views-slide-carousel>. This is the id for the entire carousel block. - Locate the controls div by working your way up from the highlighted Nid pager div. The default class is
<div class="views-slideshow-controls-bottom>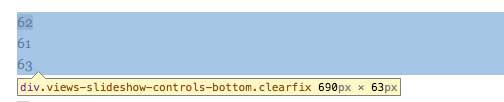
- The class for each individual pager is
<div class="views-slideshow-pager-field-item>
- Let’s replace the Nid numerals with a nice dot pager. I use the Kellum Method for image replacement, and strongly encourage you to read Replacing the -9999PX hack by Jeffrey Zeldman to learn exactly how it works.
.views-slideshow-pager-field-item {
  /* line up dots horizontally */
  display: inline-block;

  /* getting rid of the numerals */
  text-indent: 100%;
  white-space: nowrap;
  overflow: hidden;

  /* creating the dots, adjust margin, size and colour as required */
  width: 16px;
  height: 16px;
  margin: 0 10px;
  border-radius: 50%;
  background-color: grey;
}- As we previously enabled the Activate Slide and Pause on Pager Hover setting, hovering over each pager item will display its respective slide image. We want the pager to indicate the active slide as well.
.views-slideshow-pager-field-item.active {
  /* change the colour of the active slide's pager */
  background-color: black;
}- We’ve turned our plain numerical Nids into lovely dot pagers. We can move the pager wherever we want too. If you want the pager overlayed on top of your images, then we need a few more lines of code.
.view-display-id-carousel {
  position: relative;
}

.views-slideshow-controls-bottom {
  position: absolute;

  /* makes sure the pager is positioned on top of the images */
  z-index: 10;

  /* set the position of the pager, adjust as required */
  right: 25px;
  bottom: 15px;
}- Now you should see something like this:

Okay, so maybe this isn’t as simple as I thought it would be. But hopefully this post can help you wrap your head around creating your own image carousel using Views slideshow.